
PT 3A : AR15 UPGRADE - STNGR HWK AND HOW TO PROPERLY TORQUE BARREL NUT
February 9, 2019
Learn how to upgrade your AR-15 with the STNGR HWK handguard and properly torque the barrel nut with expert tips.
Quick Look
Overview
In the third part of our build series, we dive deep into upgrading your AR-15 with the STNGR HWK Free Float Handguard. As enthusiasts, we understand the importance of not just swapping parts but doing it right to enhance performance and reliability. In this tutorial, we’ll cover the proper installation of the handguard and how to torque the barrel nut effectively.
What This Video Demonstrates
This video focuses on the hands-on process of installing the STNGR HWK handguard while detailing the steps to correctly torque the barrel nut. From preparation to execution, we guide you through everything you need to ensure a successful and secure fit, leveraging techniques that you might not find in standard tutorials.
Step-by-Step Explanation
The installation process starts by removing the old components, leading to a bare barrel, which is the perfect opportunity for an upgrade. We selected the STNGR HWK for its lightweight aluminum construction and aggressive design that not only looks good but is functional as well.
1. **Start with cleaning the threads**: Before installing the barrel nut, ensure that the threads are clean. It’s essential to avoid any debris that may compromise the integrity of the installation.
2. **Apply anti-seize compound**: Use a quality non-metallic anti-seize compound to prevent corrosion and galling, especially important in high-temperature applications.
3. **Thread the barrel nut on by hand**: Tighten it hand-tight first. This initial step is crucial for ensuring that the anti-seize is evenly distributed on the threads.
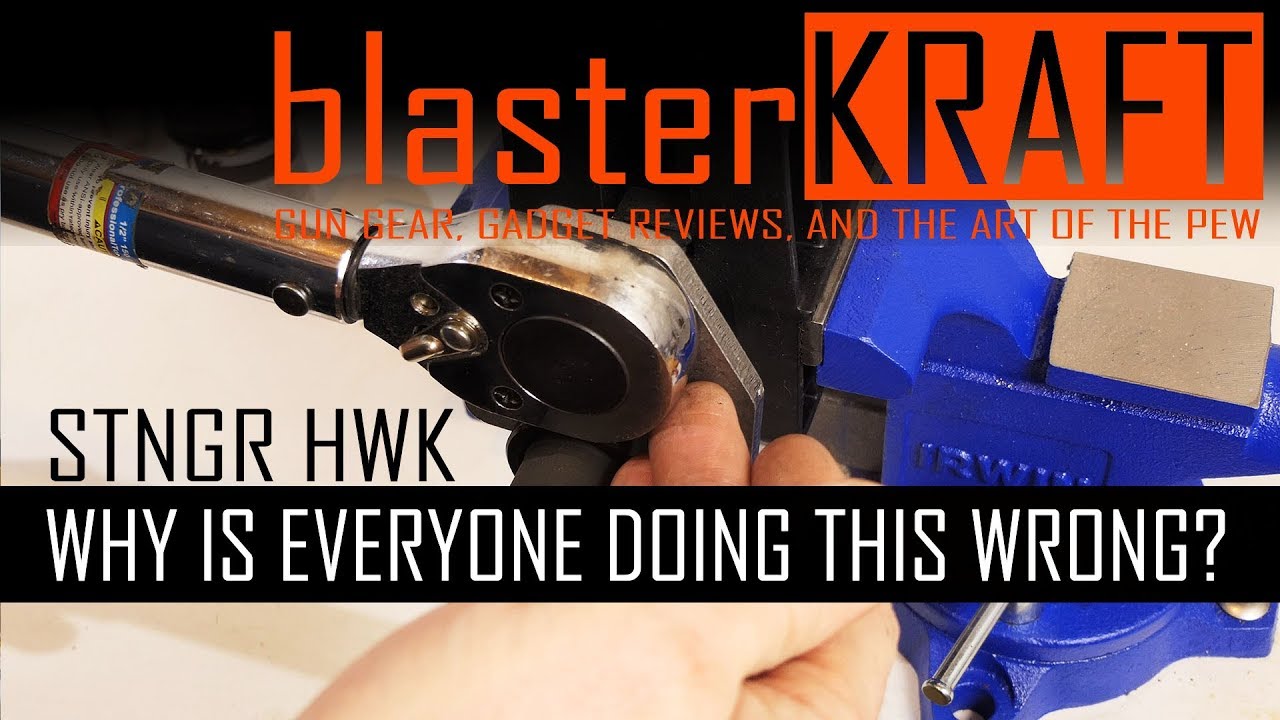
4. **Torque the barrel nut properly**: Using the provided crows foot, position it at a perfect 90-degree angle to your torque wrench. This is often overlooked, yet vital—for accurate torque measurement. For the first torque adjustment, set your wrench to 30 ft-lbs, back it off, and then increase to a final torque of 40 ft-lbs.
Key Tips
Installing the STNGR HWK handguard isn't just about bolting on a new part; it involves precision. Here are some key takeaways from the process:
- Correct torque application is crucial: Always maintain that 90-degree angle with your torque wrench to ensure accuracy.
- Don’t use your torque wrench to loosen: This can cause damage; use a breaker bar instead.
- Avoid skipping anti-seize: It's vital for maintaining a long-term fit without corrosion issues.
Key Takeaways
Upgrading your AR-15 can seem daunting, but with the right tools and techniques, it can be a rewarding experience. The STNGR HWK handguard not only enhances the aesthetics but also contributes to the overall functionality of your rifle. Properly torquing the barrel nut is essential for ensuring that everything stays secure during operation. This video provides an in-depth look into the nuances of AR-15 upgrades, paving the way for a successful and satisfying build journey.