
PT 3B : AR15 UPGRADE - STNGR GAS BLOCK INSTALL WITH BARREL DIMPLE
February 9, 2019
A detailed guide to installing a STNGR gas block with barrel dimple on your AR15, perfect for enthusiasts looking to upgrade.
Quick Look
Overview
Upgrading your AR15 can not only enhance its performance but also give you hands-on experience in gunsmithing. In this article, we’ll walk through the process of installing a STNGR gas block with a barrel dimple, a specific step that improves the reliability and accuracy of your rifle. This guide will help you understand the essential considerations, tools, and techniques required for a successful installation.
What This Video Demonstrates
This video segment from the overall AR15 build series focuses particularly on the technical aspects of gas block installation and barrel dimpling. You'll learn about the importance of alignment, choosing the right tools, and maximizing the effectiveness of the gas systems in your rifle. By following this guide, you can ensure your gas block is securely mounted and your gas tube is properly aligned.
Step-by-Step Explanation
Installing a gas block might seem daunting at first, but with the right steps, it becomes manageable. Here’s a simplified breakdown of the essential stages:
1. Preparing the Gas Tube and Block
Begin by inspecting the components. The STNGR gas block comes with a new roll pin, which is preferable to reusing an old one. Align the gas tube with the ports on the barrel and the set screw holes on the gas block. Take your time to ensure everything lines up correctly—a small misalignment can lead to operational issues down the road.
2. Ensuring Proper Alignment
Push the gas tube into place where the roll pin hole will be. Use a drill bit or a similar tool to check that the gas port aligns with the holes in the gas block. This attention to detail ensures that the gas flow will operate smoothly once the installation is complete.
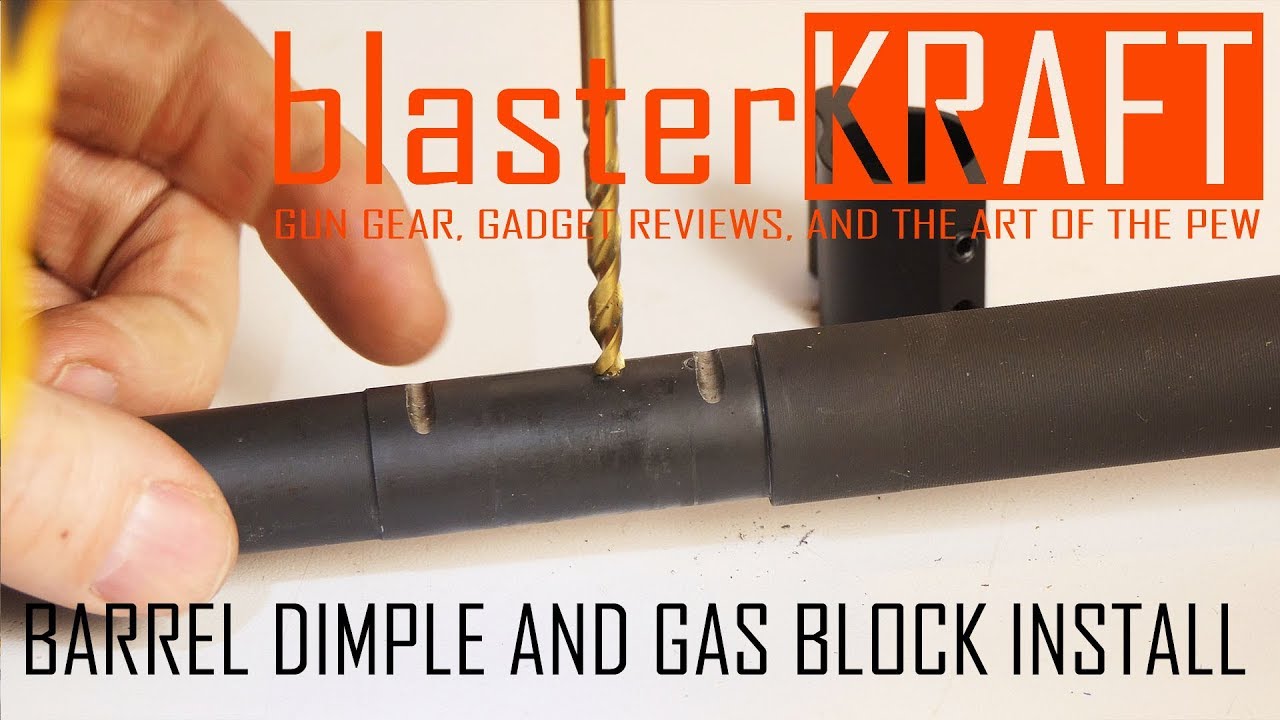
3. Dimpling the Barrel
This is a critical step. Dimpling the barrel prevents the set screws from loosening over time, maintaining the position of your gas block. Use a center punch to create a small indentation where each screw will seat. This ensures that when tightened, the screws will not slip, providing a solid fit.
4. Finalizing the Installation
With the dimples created, carefully place the gas block back onto the barrel, ensuring it's pushed all the way to the shoulder for accurate alignment. Tighten the set screws using a thread locker to secure them in place. This step is vital for keeping the gas block stationary during use.
Key Tips
- Center Punch Accuracy: Take your time with the center punch—this will dictate the accuracy of your dimple. One miscalculation can lead to operational failures.
- Thread Locker Choice: Use a strong thread locker (like red 271) specifically for set screws that must remain stable during heavy use.
- Visual Checks: Regularly take visual cues during installation to ensure everything stays aligned. Eyeballing can often be as effective as using tools.
Key Takeaways
Installing a gas block on your AR15 does more than just enhance aesthetics; it significantly affects functionality. The careful alignment of the gas tube, proper dimpling of the barrel, and effective use of tools are all critical elements that contribute to a reliable weapon system. By understanding each step and taking your time, you ensure your rifle operates not only effectively but safely. Remember, the knowledge gained during setup will empower you to tackle future modifications with confidence.